Why getting your first branded cup right matters so much
Your first custom cup sets the template for every order that follows. Choose the wrong cup size, use artwork that doesn’t scale well to a cylindrical surface, or pick a colour that looks different in print than it does on screen — and you could end up with hundreds or thousands of cups that don’t represent your brand the way you intended.
The good news is that the design process is straightforward once you know what to expect. This guide walks you through each step — from deciding which cup to print on, to preparing your artwork file, to reviewing your proof — so your first branded cup order goes smoothly and delivers a result you’re proud to put in front of customers.
Design tip: Start with your most popular cup size. For most UK cafes, that’s the 12oz — used for lattes, flat whites, and cappuccinos. Get this right first, then extend to other sizes in future orders.
Step 1: Choose the right cup style and size
The cup you choose affects both the look of your branding and the cost of printing. Different cup constructions also give different print surfaces — so this decision comes before you finalise your artwork.
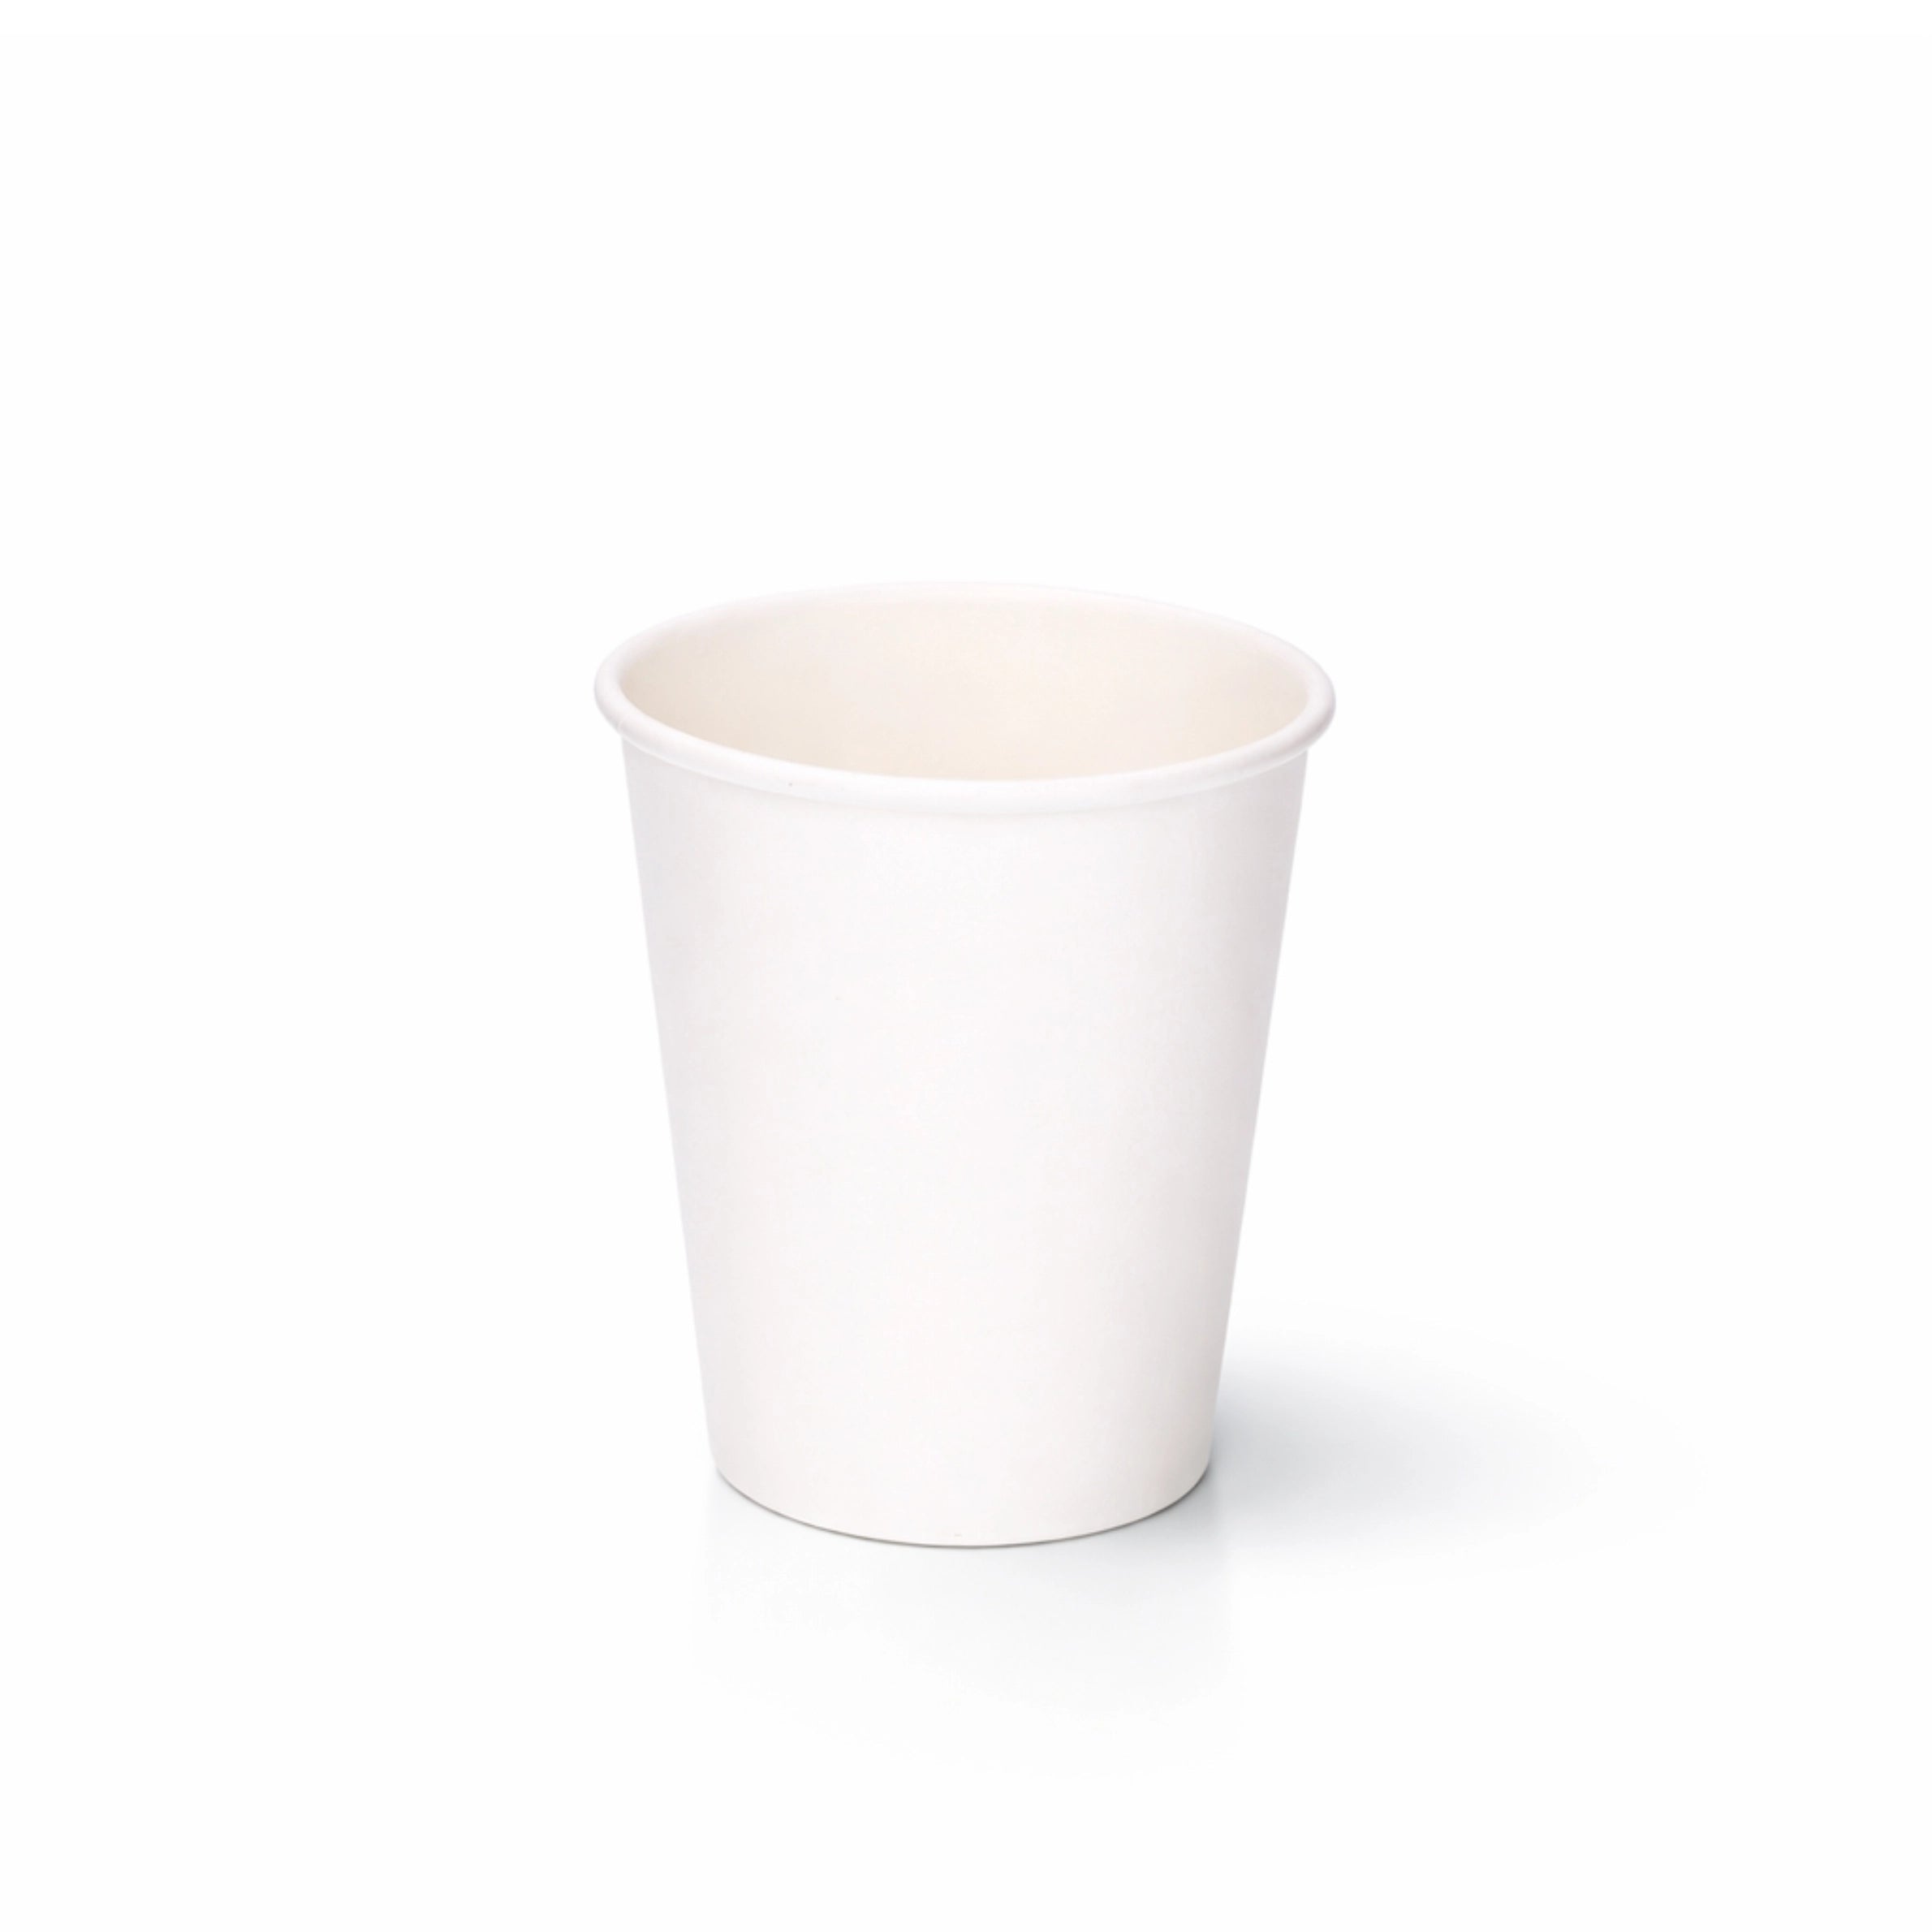
- Single wall cups — The most economical option. Suitable for lower-cost drinks or venues where customers use lids and sleeves. The thinner construction means the print surface can feel slightly less premium, but the cost saving is real at scale.
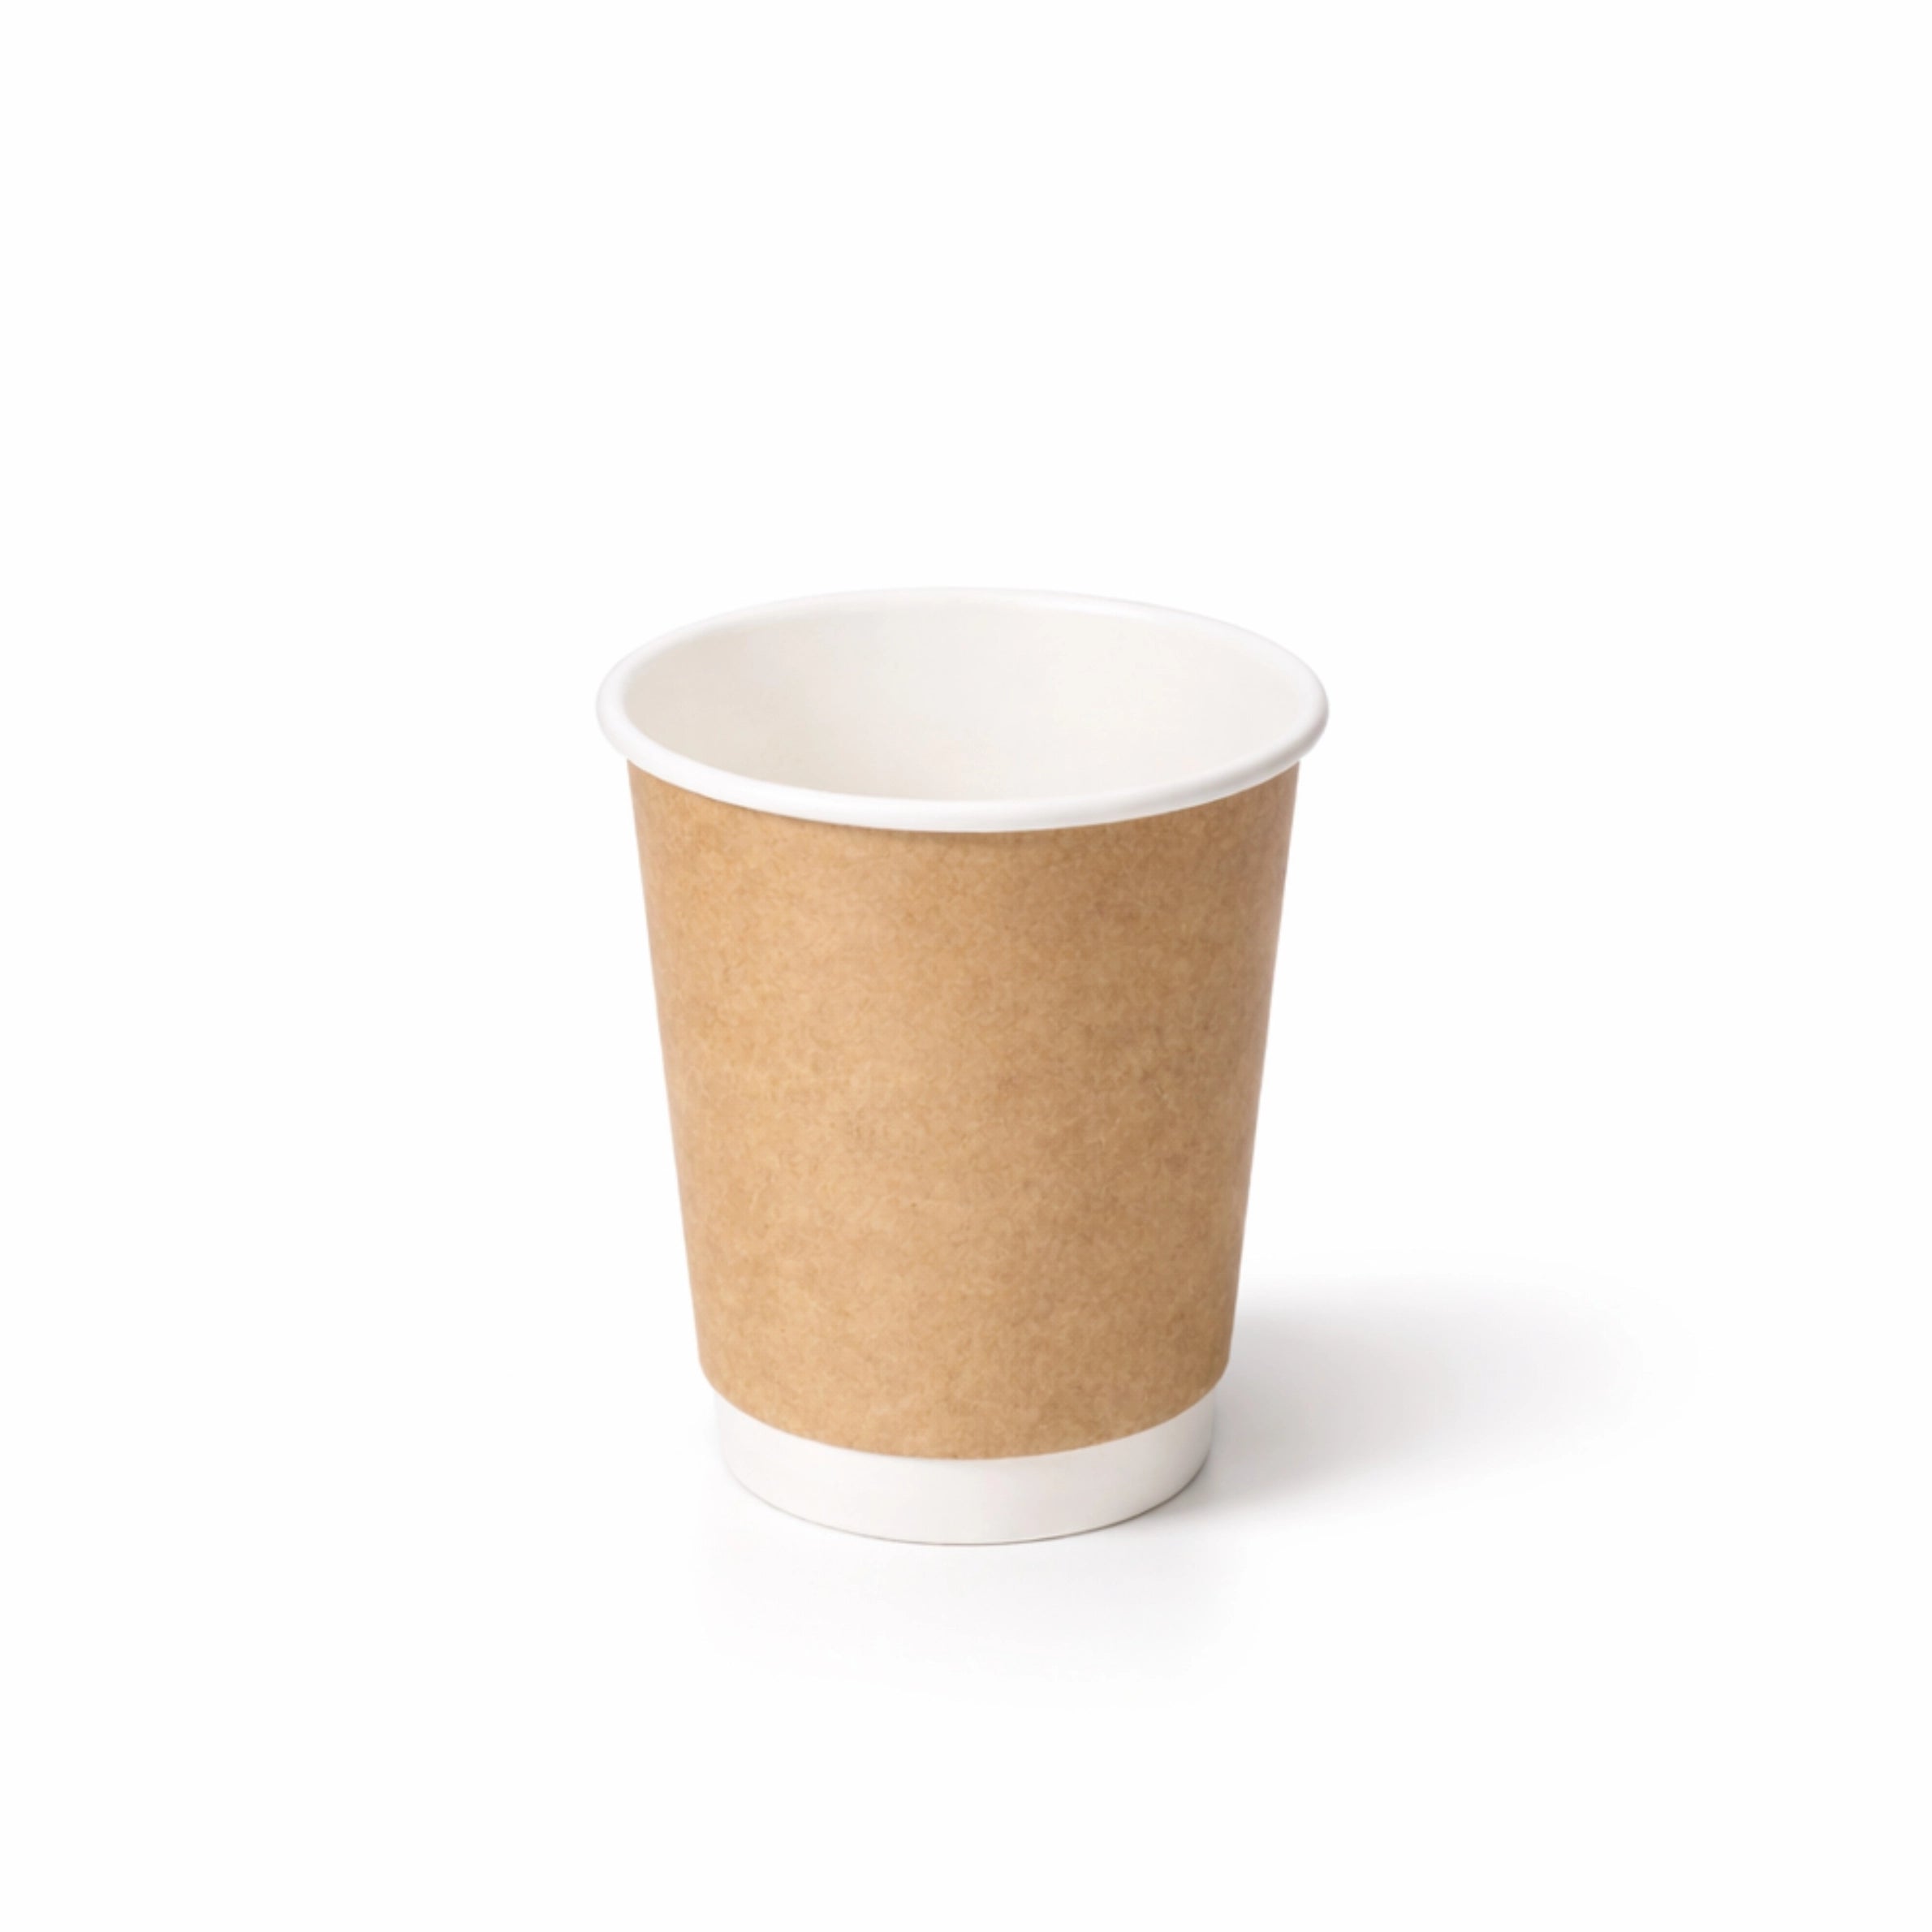
- Double wall cups — The industry standard for branded cups in independent UK cafes. The outer wall gives a clean, stable print surface and means no sleeve is needed — so your branding is fully visible. Available in white or kraft finish. The kraft finish is particularly popular with artisan and independent cafe brands.
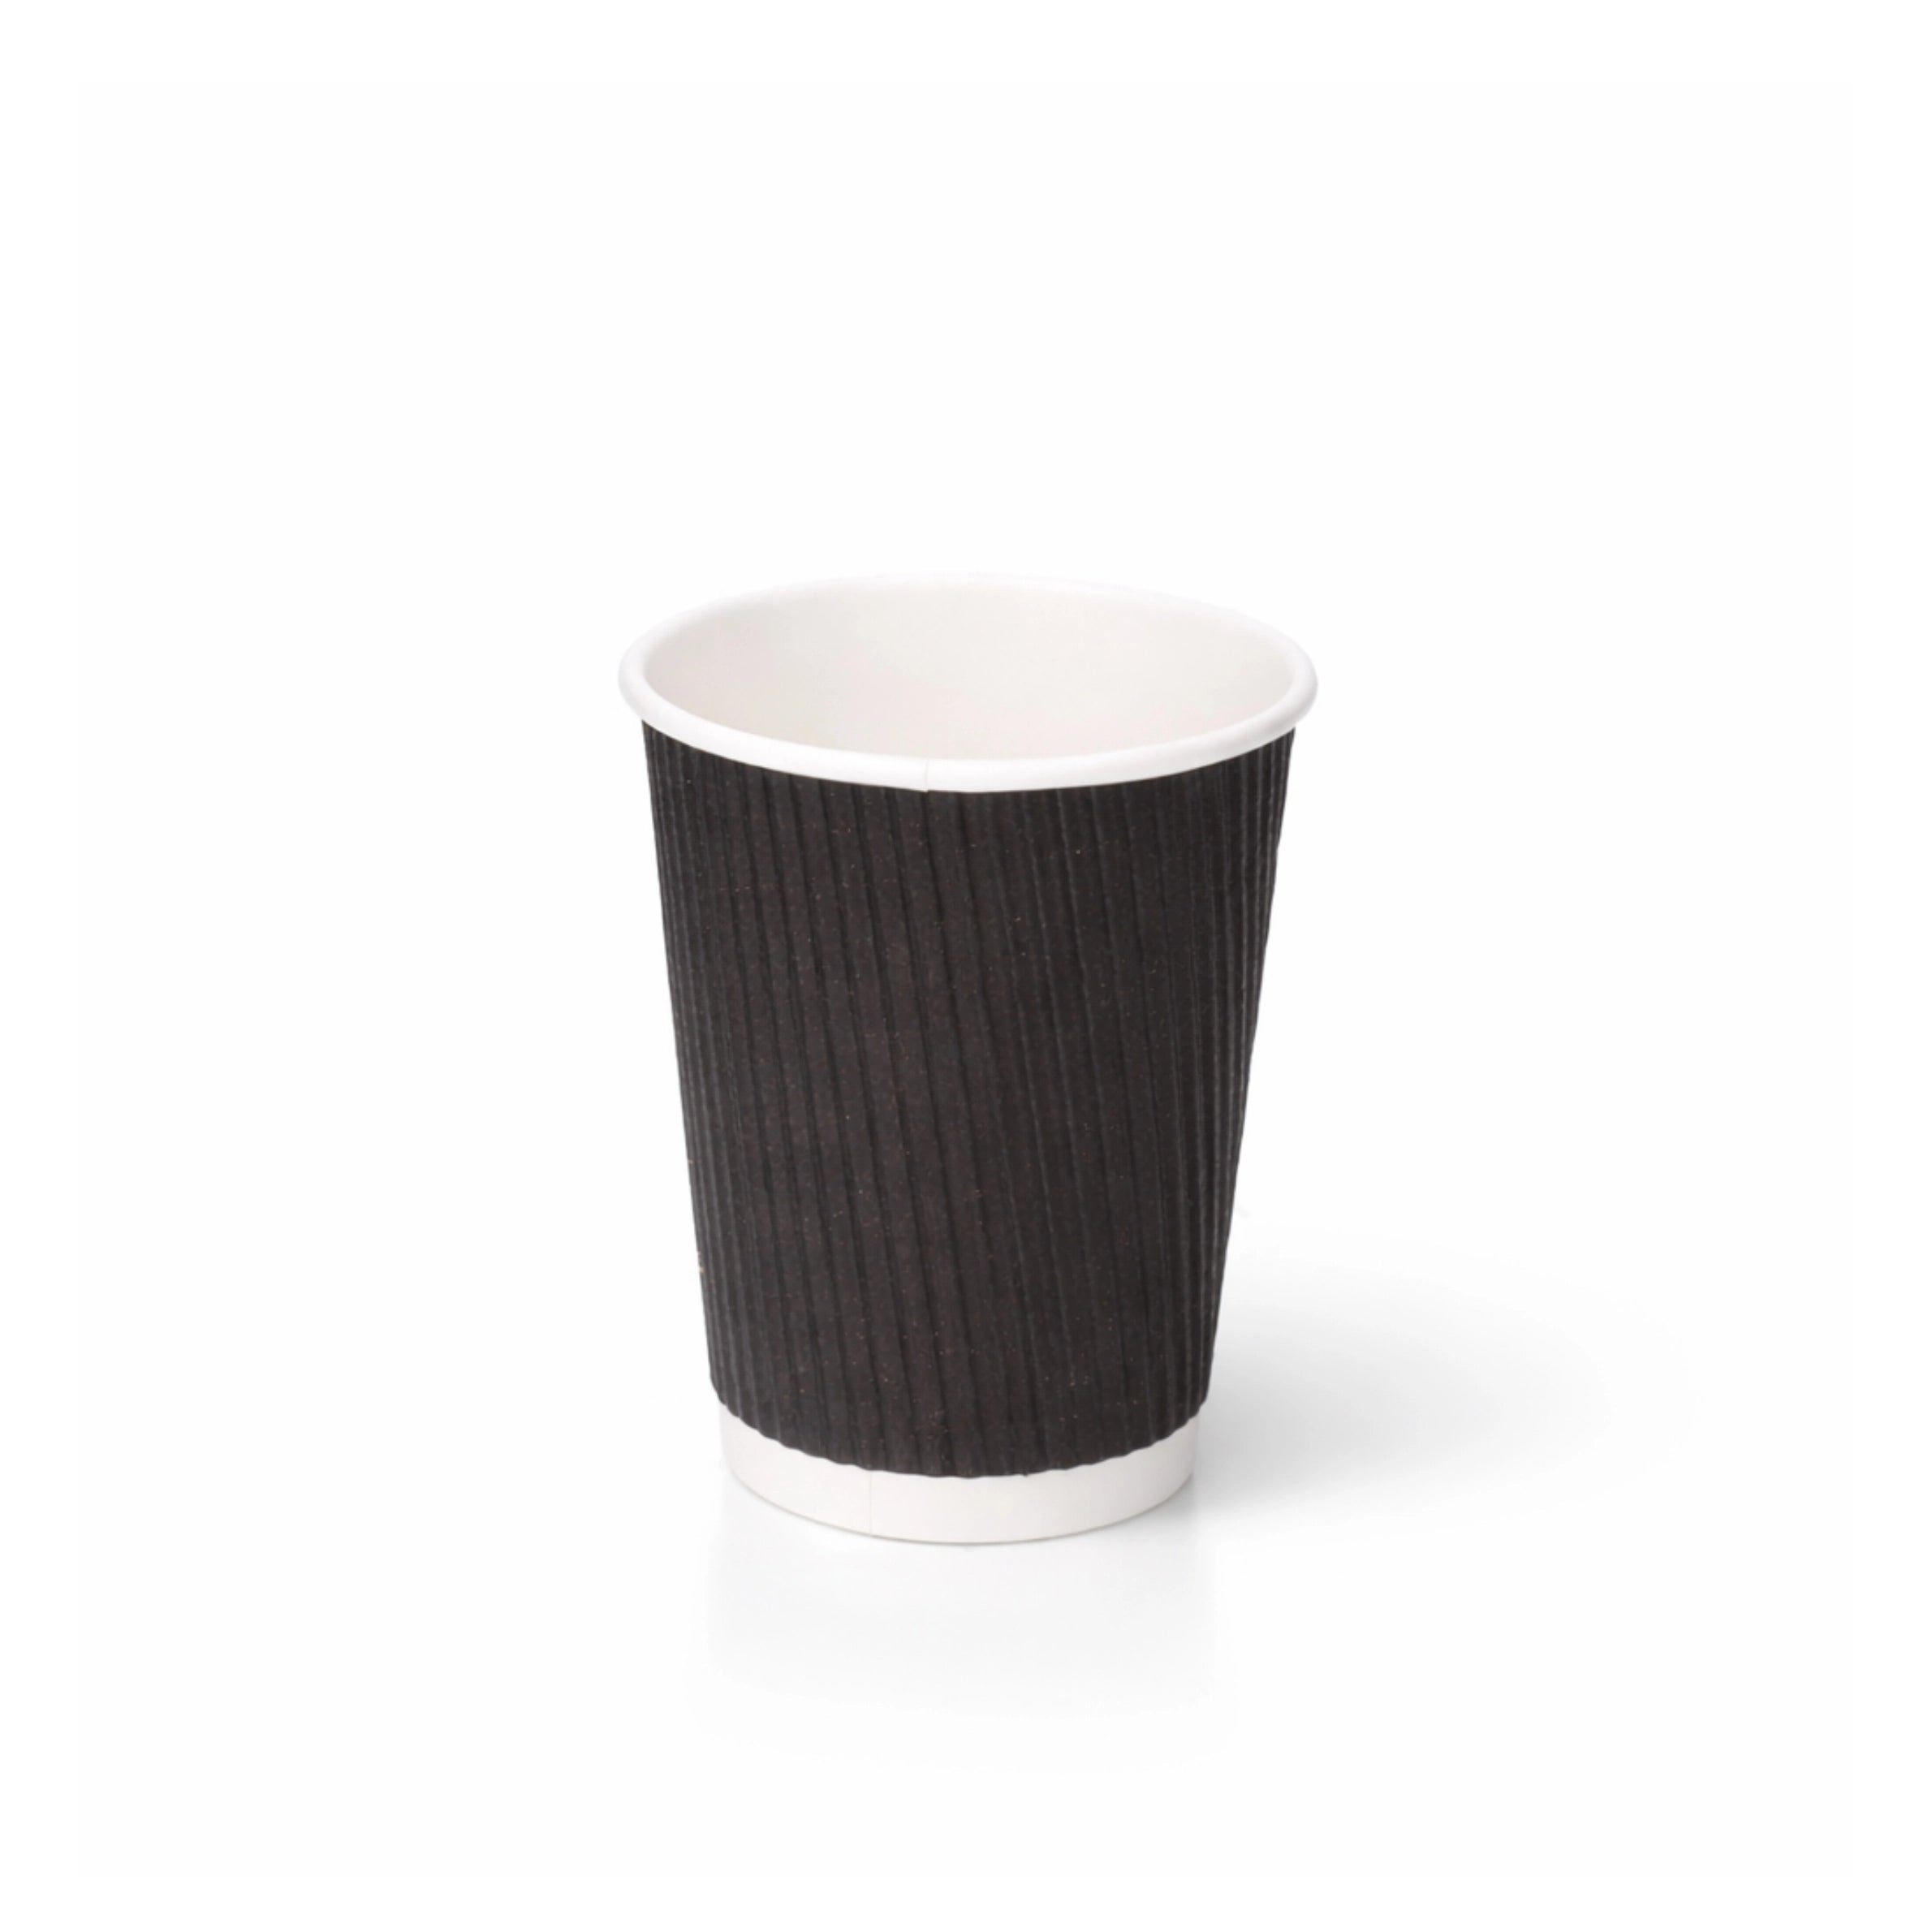
- Ripple wall cups — The premium option. The ribbed outer surface adds tactile interest and insulation, and prints well in bold colours. Ideal for positioning your cafe as a quality-first destination.
For sizing, the most commonly branded sizes in UK cafes are 8oz (espresso-based small serves), 12oz (the workhorse — lattes, flat whites, cappuccinos), and 16oz (larger lattes and takeaway teas). If you only brand one size to start, make it the one that accounts for 50% or more of your hot drinks volume.
| Cup Style | Print Surface | Sleeve Needed? | Best For |
|---|---|---|---|
| Single Wall | Good | Yes (or lid holds) | Budget-conscious branding, high-volume cafes |
| Double Wall | Excellent | No | Independent cafes, specialty coffee |
| Ripple Wall | Very good (ribbed) | No | Premium positioning, artisan brands |
Step 2: Prepare your artwork for print
Artwork preparation is where many first-time custom cup buyers get caught out. Sending the wrong file type — or a logo that looks fine on screen but prints poorly — leads to delays and disappointment. Here’s what print suppliers actually need.
Use vector files, not raster images
Vector files (.ai, .eps, .svg, or a high-quality .pdf) are made from mathematical paths, not pixels, so they scale perfectly to any size without losing sharpness. A logo saved as a .jpg or .png from a website will pixelate and print poorly. If your designer created your logo digitally, they should have the original vector file — ask them for it before approaching any print supplier.
Understand how the artwork wraps around the cup
A coffee cup is a truncated cone, not a cylinder. This means your artwork wraps around a curved, tapering surface. Most print suppliers will give you a “dieline” — a flat template showing the exact printable area for your chosen cup size. Lay your artwork out within this template so you know exactly how it will appear when formed into a cup. Pay particular attention to text size: small text that’s legible on a flat screen can become difficult to read when wrapped and viewed at an angle.
Choose print colours carefully
Screen colours (RGB) look different from printed colours (CMYK or Pantone). Bright digital blues often print more muted; neons rarely translate well. If your brand has specific colours that matter, ask your supplier to work to Pantone references — these are the industry standard for consistent, reproducible printed colour. For single-colour or two-colour print jobs (which are more economical), choose colours that work well on a kraft or white background.
Step 3: Write a clear brief for your print supplier
A good brief saves time and avoids back-and-forth. Cover these points when contacting a custom cup supplier:
- Cup specification — Style (single/double/ripple wall), colour (kraft or white), sizes, and quantities per size.
- Print specification — Number of colours, Pantone references if applicable, whether you need inside printing or just external.
- Artwork files — Attach your vector logo and any additional artwork. Include a note on which elements are critical (e.g., “the logo must always be centred on the cup face”).
- Delivery timeline — State when you need the cups. 3–6 weeks is standard, but tell your supplier if you have a hard deadline (a launch date, a seasonal campaign) so they can plan accordingly.
- Proof requirement — Always ask for a digital proof before the full print run begins. Some suppliers also offer physical samples at a small additional cost — worth it for your first order.
Step 4: Review your proof carefully
When you receive your digital proof, don’t just check that the logo “looks right” in isolation. Check these specific things:
Artwork placement
Is the logo where you expected it to be on the cup? Is it centred, or offset to one side? Check the proof against the dieline to confirm placement on the printable area. If you want the logo facing a particular way when the cup is held, say so explicitly in your brief and verify it in the proof.
Text legibility
If you have any text on the cup — a tagline, a website URL, a certification badge — check that it’s legible at the size it will print. Ask the supplier to confirm the smallest text size in the artwork and whether it will reproduce cleanly.
Colour accuracy
Digital proofs can only approximate printed colour, especially on screen. If brand colour accuracy is important, ask for a physical proof or colour swatch before approving the full run.
LumaPack cups that work well for custom branding
If you’re ready to get started, LumaPack’s double wall range is the most popular base for custom printing. The kraft finish particularly suits independent cafe aesthetics and takes spot-colour printing very well.
- 12oz Kraft Double Wall Paper Cups — the most popular size for branded lattes and flat whites; the natural kraft finish gives an artisan look that independent cafes love.
- 8oz Kraft Double Wall Paper Cups — ideal if your signature serve is a smaller espresso-based drink; the same clean print surface as the 12oz in a compact size.
- 16oz Kraft Double Wall Paper Cups — the right choice for large lattes, teas, or any cafe where a big takeaway serve is a bestseller.
Interested in custom printing? Get in touch with the LumaPack team at lumapack.co/pages/contact to discuss your requirements — low MOQ, UK wholesale pricing, and expert guidance through the artwork process.
Three common mistakes to avoid on your first custom cup order
Over-complicating the design
The best branded cups are often the simplest. A clean logo, your brand colour, and your cafe name is enough — often more than enough. Trying to squeeze in a tagline, a website, a certification badge, and a pattern on a first order usually results in a cluttered cup that doesn’t read well at arm’s length. Start simple; add detail in future versions once you’ve seen how the print performs.
Ordering too many sizes at once
It’s tempting to brand every cup size in your range on the first order. In practice, most cafes use one or two sizes for 80% of their drinks. Start with your highest-volume size to control risk. Once you’ve confirmed the artwork works and the quality meets your standard, extend to other sizes on subsequent orders.
Forgetting to stock plain cups as a backup
Custom print runs take time. If you run out of branded cups mid-week, you’ll need plain cups to bridge the gap. Keep a small buffer stock of plain cups — LumaPack’s fast dispatch means you can reorder quickly — so you’re never caught short between custom orders.
Summary
Designing your first branded coffee cup is a manageable process when you approach it methodically: choose the right cup style, prepare print-ready vector artwork, write a clear brief, and review your proof carefully before approving the full run. For most independent UK cafes, a 12oz double wall cup with a 1–2 colour logo print is the ideal starting point. Browse LumaPack’s kraft double wall cups to find the right base for your brand.
Frequently Asked Questions
What file format do I need for custom cup artwork?
Vector files are required for clean printing — .ai (Adobe Illustrator), .eps, .svg, or a high-resolution .pdf. A logo saved as a .jpg or .png will pixelate when scaled to fit a cup. Ask your designer for the original vector file if you don’t already have it.
How many colours can I print on a custom coffee cup?
Most cup print suppliers offer 1–4 colour spot printing or full-colour CMYK/digital options. Single and double colour prints are the most cost-effective for small to medium runs. Full-colour printing is available but typically costs more per unit and has higher MOQs.
Can I print on both sides of a coffee cup?
Yes — artwork wraps all the way around the cup, so you can print on the full circumference. However, most cafes choose to print their main logo on one “face” of the cup (the side that faces outward when held). Additional information like a website or certification marks can be placed on the back or wrap around continuously.
What is a dieline and why do I need one?
A dieline is a flat template provided by the cup supplier that shows the exact printable area for your chosen cup size and style. Because cups are formed from flat blanks, the dieline shows you the actual shape your artwork will cover before it’s folded into a cup. Always lay your artwork out within the dieline before submitting it to a supplier.
How soon can I get my custom branded cups after ordering?
Standard lead times are 3–6 weeks from artwork approval, depending on the supplier and print complexity. Rush orders may be possible at a premium. Always confirm the lead time before ordering, and keep a stock of plain cups to cover the production period.